Even in a world saturated with million-dollar vloggers on YouTube, there's always room for new, fresh, innovative video content. Curious as to how popular vlogging is? YouTube reports that creators upload over 500 hours of content every minute. While not every video on the platform is technically a vlog, with more than 2 billion monthly logged-in users, suffice it to say, there is a large audience for your story.
Know what makes a vlog great? In addition to interesting and relevant subject matter, a great vlog has excellent picture and sound quality. How do you get from good to great? The right equipment.
Let’s talk about the best vlogging equipment for beginners and pros.
What is the Best Camera to Vlog?
You already have a beginner vlogging camera. In fact you are likely reading this article on it right now. That’s right — your smartphone, iPhone or iPad can be turned into a fully functioning, professional video blogger equipment.
Because video is an effective way to communicate your message, you will want to ensure your viewers can “see” you or your subject and not a shaky, out-of-focus version. For that reason, you want high-quality vlogger gear. Yes, you can go and buy a Nikon or Canon DSLR or mirrorless camera from just about any retailer. However, you most likely already have the best vlogging camera right at your fingertips — your smartphone or tablet. You’re probably reading this article on it right now!
Both iPhones and iPads are capable of producing good-quality footage, as are Android-based smartphones.
Specific instructions on shooting a video on your smartphone or tablet will vary across models, manufacturers, and the current OS (operating system) version. Instead of trying to cover every smartphone and tablet, we've got a few tips that are universal, regardless of your device.

Getting the Most From Your iPhone Vlogging Kit or Mobile Vlogging Setup
Over the years, the argument has stood that you should always shoot in landscape. However, with the plethora of social media platforms, it will depend on which one you use to host your vlogs. The rule of thumb: Shoot horizontal footage for YouTube and vertical for your Instagram story. If you intend to post your content to multiple platforms, the choice is yours; just know you will need to perform some editing in post-production.
- Frame your subject — Fill the frame with your subject or follow the 'rule of thirds.' Look for a 3x3 grid in your camera app and align your subject with one of them; whether you use the vertical or horizontal lines is up to you.
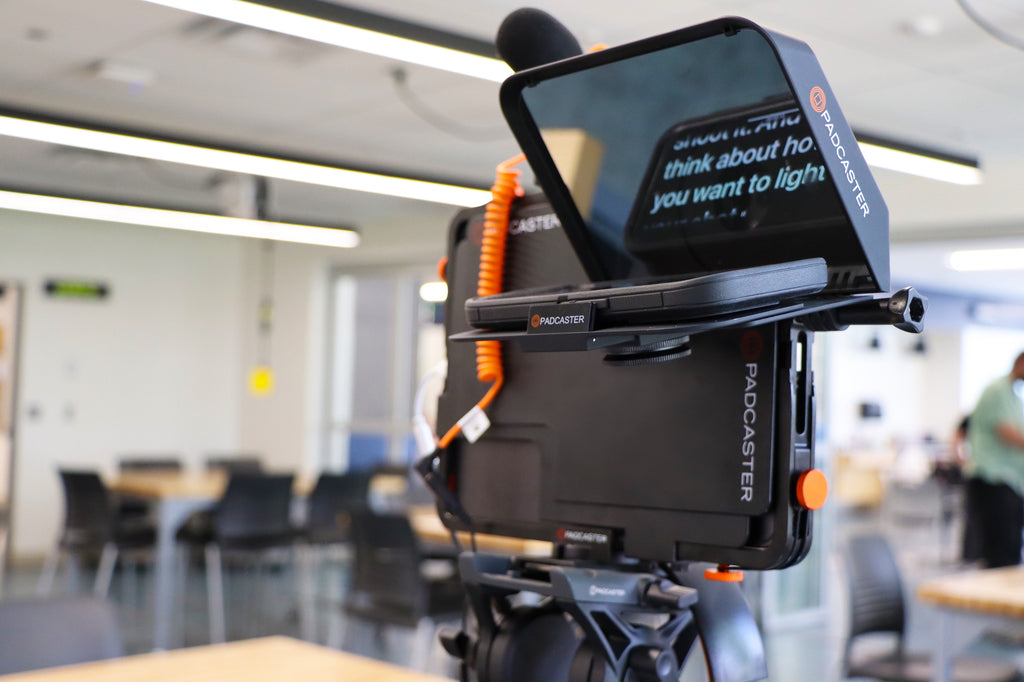
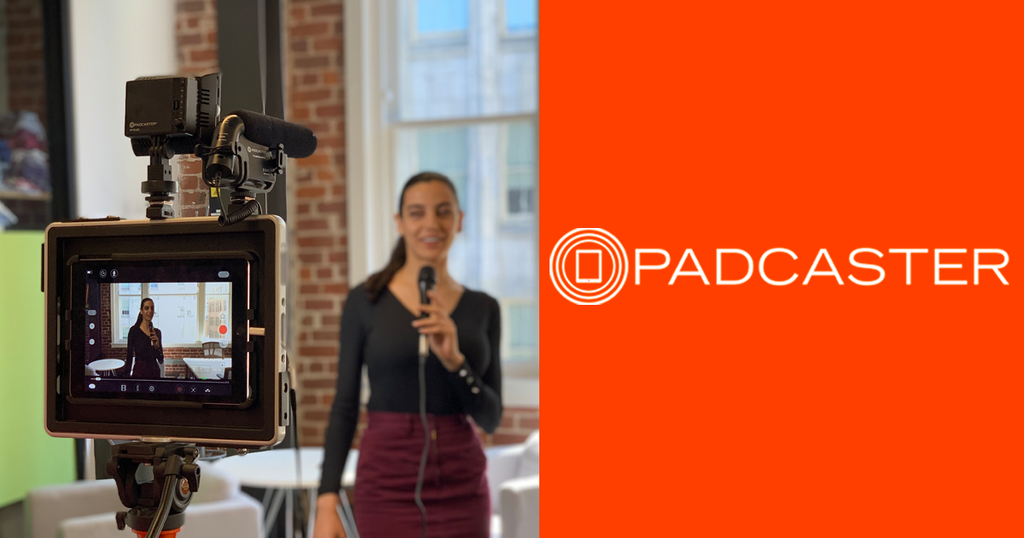
- Use your optical zoom — If you are fortunate enough to have more than one camera lens on the back of your device, one is typically a telephoto. Otherwise, look for a clip-on lens that allows you to get as close to your subject as possible without losing any detail. The Padcaster Studio and Padcaster Starter Kit both include lenses to improve your field of view.
- Get the right lighting — Unfortunately, cameras on mobile devices fall short in the lighting department. If your location lacks natural light, you will need to use artificial lighting to prevent unwanted shadows.
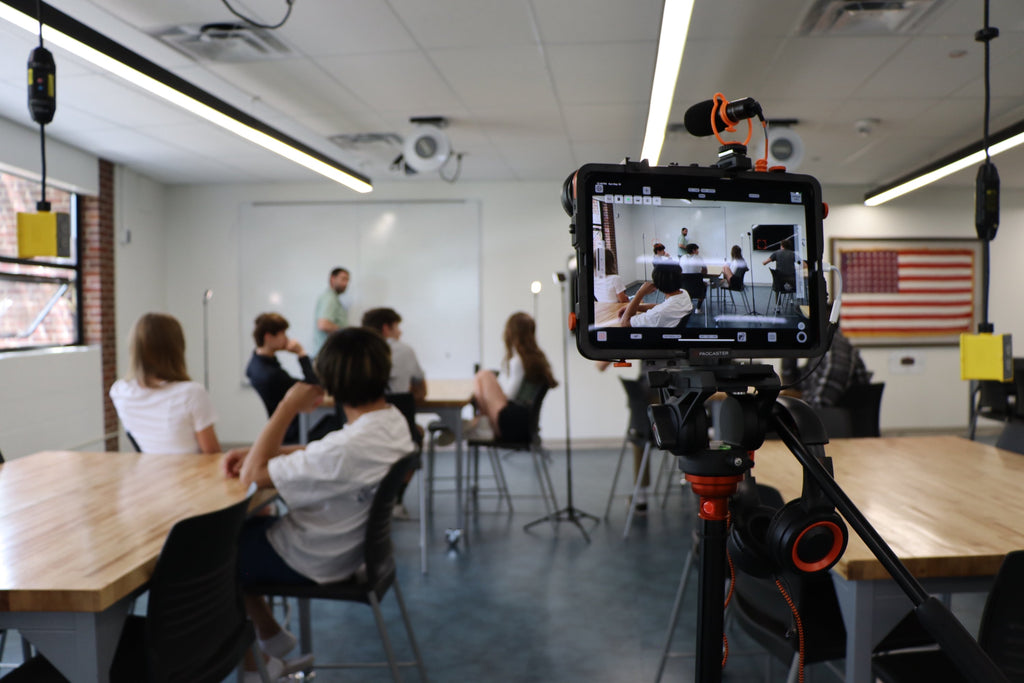
- Stabilize your camera — Holding a steady camera while shooting video without some support is virtually impossible. Use a tripod with your device, and you won't have to worry about shaky footage.
What is the Best Tripod for Vlogging?
When searching for the right tripod for your vlogging, look for one that provides features you need like versatility (can extend in height or change from tripod to monopod) or a universal holder mount. If you are on the go with your vlog, consider a tripod that is lightweight and flexible, like the Padcaster G-Pod. This little guy can hold a smartphone up to five pounds and features flexible legs to position your camera just about anywhere. G-Pod's cousin, the Padcaster X-Pod, is a mini tripod with a built-in leveler and battery pack with USB output if you need to charge your mobile device while filming. The Padcaster tripod can extend to 71 inches for eye-level footage and switch from a tripod to a portable stick hand-held monopod when you need the ability to maneuver around a bit more than a tripod allows.
How Much Does Professional Vlogging Equipment Cost?
Costs associated with vlogging equipment can vary greatly. However, you should expect to spend a couple of thousand dollars or more for better-quality pieces. Here is a quick overview of your essentials:
- Camera — Quality cameras for vlogging can run you anywhere from $700 up to $4,000 for the camera body only. Tack on a lens at $400 to $1,200, and you could spend well over $1,000 to $5,000 for your camera needs.*
- Lights — A light setup can run anywhere from $20 for a ring light or on-camera light to $200 for a softbox lighting kit.
- Microphone — Prices for a camera-mount shotgun microphone range from $30 to $500, while a lavalier microphone (which attaches to your subject) can run you $15 to $600.
- Tripod — Prices can range from $20 for a tripod up to $200 for a tripod/monopod.
- Green screen — Best way to add depth or an interesting background is with a green screen. Depending on the size and quality of the screen, prices range from $20 to $500.
- Backpack — If you are on the go with your vlogging, you will need some way to transport your equipment safely. The best method is a backpack, which can cost $30 to over $100.
- Editing software — Prices for editing software ranges from free to freemium to subscription.
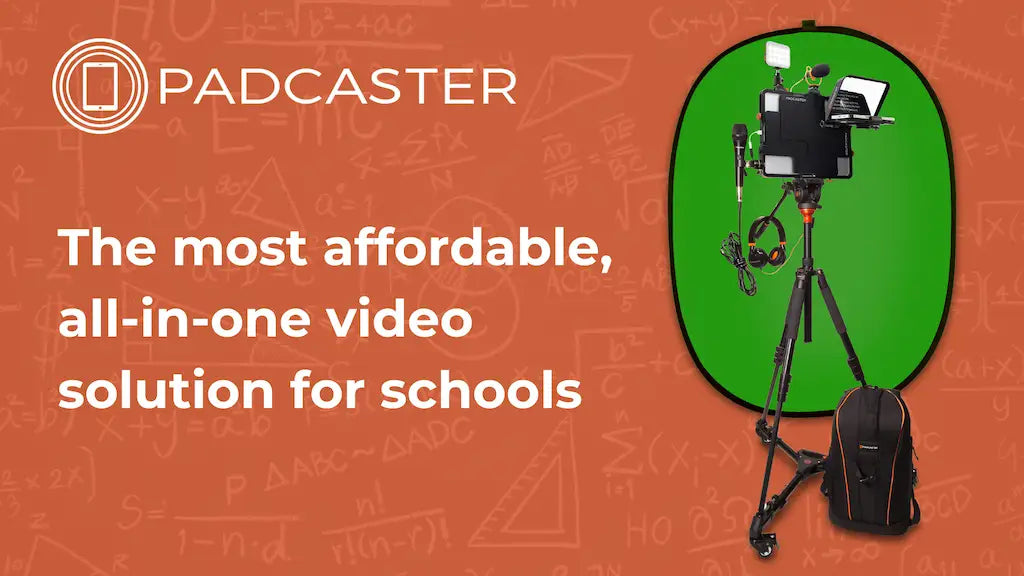
*Rather than spend thousands of dollars on professional vlogging camera equipment, look for vlogger setup packages that have everything you need to get started. Again, we know we’re tooting our own horn, but for less than $2,000, the Padcaster Studio can turn your iPad into a full-production mobile suite! You simply set your iPad into the Padcaster case and select which (included) studio components you need for your upcoming shoot.
This kit comes with a host of vlogging necessities:
- Three types of microphones
- 2x telephoto lens
- Wide-angle/macro lens
- Fluid head tripod/monopod
- Portable green screen
- LED camera-mount light
- Padded backpack
- Parrot teleprompter with Bluetooth remote
- and more
If you’d prefer to use your smartphone, we have an iPhone vlogging kit — Padcaster Verse Vlogger with a mini microphone and flexible tripod (that wraps around anything). Verse is your vlogging solution for Android and Apple mobile devices. Snap your smartphone into the Padcaster Verse frame and you have a rugged mobile production studio.
Must-Have Vlogging Accessories
Whether you are just starting with your vlog or have a few videos complete, there are a few accessories you will want to have to ensure you produce content that looks good and sounds good. We recommend you use the following vlogging accessories:
- Camera (smartphone or iPad)
- Optics (camera lenses)
- Microphones and headphones
- Lighting
- Tripods and mounts
- Greenscreen
- Protective shade (to protect your device from unwanted light when shooting outside)
- Backpack (to store all of your equipment)
Happy vlogging!
Padcaster transforms your iPad or smartphone into an all-in-one mobile production studio so you can create professional-quality videos from your home or anywhere else. Whether it’s for distance learning, telecommuting, remote broadcasting or livestreaming -- Padcaster will help you produce high-quality content wherever you are. If you’re considering having an event online such as a wedding, religious service, graduation, or ‘gathering’ of any kind, Padcaster wants to help you! Fill out the form below to get in touch with one of our sales consultants!
Need More Information?
Fill out the form here to get in touch with a member of the Padcaster Team.