There’s a common misconception that green screen projects don’t belong in the Science classroom. Quite the opposite, green screen technology helps students take their Science projects to the next level and gain a greater understanding of scientific concepts. Check out the ideas below for inspiration. All of these ideas can be easily modified to a wide range of other scientific concepts.
CREATE A MUSIC VIDEO

The music video project can be applied to a lot of different scientific concepts. Students love it because it allows them to be creative, and teachers love it because their students truly internalize the concept when they write a song about it.
While memorization is not the most important element of a Science education, certain things do need to be memorized in order for students to progress in Science. Consider using this project for topics that students could benefit from memorizing.
For example, the Scientific Method is one of the crucial building blocks of any science experiment. In order to make sure your students understand and memorize the scientific method, have them write a song about it and create a music video. They can draw their own diagram of the scientific method however they understand it best and use their diagram as the green screen background.
PRESENT FROM INSIDE A DIORAMA

For younger students, building dioramas is a timeless and engaging Science project. Mix it up by having the students take a photo of their diorama to use as a green screen background. Simply follow these steps:
- Instruct students to build the Diorama
- Take a photo of the diorama with your tablet
- Import the photo into a green screen app
- Place students in front of a green screen. If sitting, lay green paper underneath the student so that the floor serves as a green screen as well
- Have students give a presentation on their habitat in front of the green screen
Knowing that they’ll be making a video with their diorama, students will try extra hard to make sure it’s their very best work.
This project is great for learning about habitats, as pictured above. You can even have the students dress up as the animal they’re presenting on!
A variation of this project would be to simply draw a two dimensional habitat instead of a 3D diorama. The project functions the exact same way - just take a photo of the drawing and use it as the green screen background.
PERFORM A PUPPET SHOW

Green screen puppet shows are always a favorite of students of all ages. All you’ll need to do is paint popsicle sticks or straws green so that they blend into the background. Students will then create drawings or computer renderings of the subject matter.
Remember that the puppets don’t have to be characters! We’ve seen this project successfully executed for the different stages of Mitosis/Meiosis. This can be a complex topic for some students, so breaking it down into a puppet show can make it more approachable. Of course, the students will create two different puppet shows, one for Mitosis and another for Meiosis. They’ll truly grasp the difference through this process as they’ll recall the two different videos.
REPORT FROM THE SCENE

This project allows for a lot of creativity and works best with events that actually happened, such as severe weather events or even pre-historic events such as the extinction of dinosaurs or the Big Bang.
Have students play reporters or meteorologists reporting “on the scene” of the event. For example, with a weather event, have a video or photo green screen background of the weather event. You can choose either historical weather events such as the 1906 earthquake in San Francisco or create fictional weather events, such as a hypothetical hurricane, allowing students to use their imagination. Have students explain the event and discuss some of the causes behind the event. You can inspire the students by showing clips on YouTube of real examples. As an example of what NOT to do, kick off the project by showing this funny YouTube video.
To get more students involved, you can have the reporter/meteorologist conduct an interview with a witness. That student can explain what the event was like when it was actually going on and how they coped with the situation.
INTERVIEW WITH A SCIENTIST

This project shares similarities with the “report from the scene” project. When studying scientific advancements, have students pretend to be the scientist who made the discovery and have another student interview them. They can ask all kinds of questions regarding the discovery, most importantly inquiring about the steps that led to that discovery. Oftentimes they’ll find that the discovery was an accident, making for a really fun story!
Some examples include:
- Dmitri Mendeleev and the Periodic Table of Elements
- Friedrich Miescher and DNA
- Alexander Fleming and Penicillin
- Marie Curie and Radioactivity
We often take for granted the tremendous impact these discoveries had on our lives, and putting students in the shoes of the scientists that made the discoveries helps expose the gravity of the advancements.
No matter the lesson, incorporating a green screen into your science classroom is a fun way to engage your students even further.
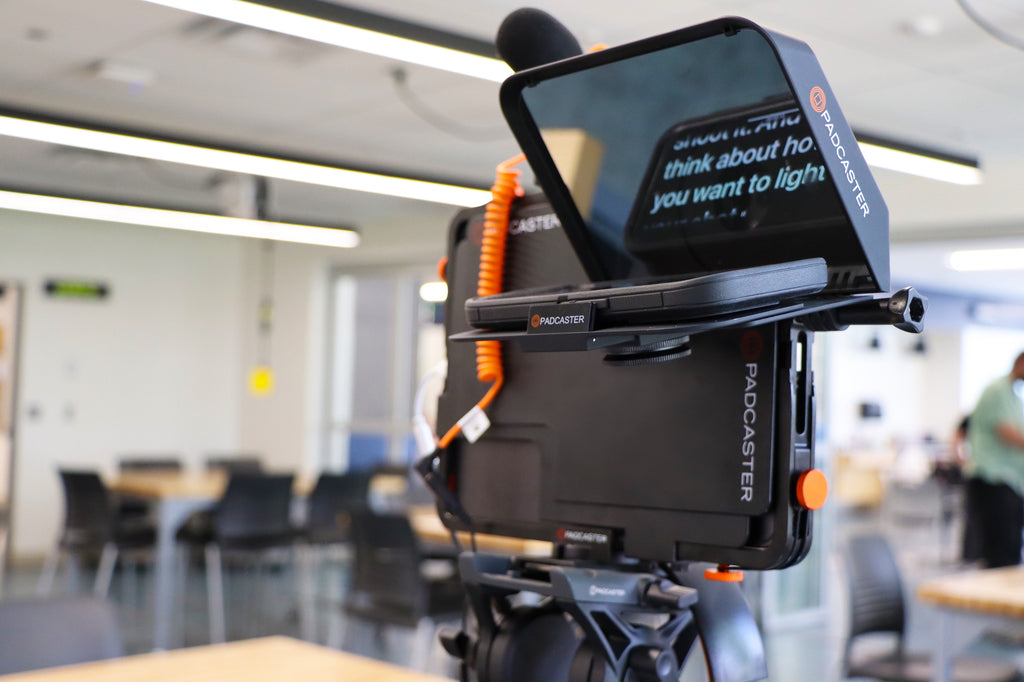
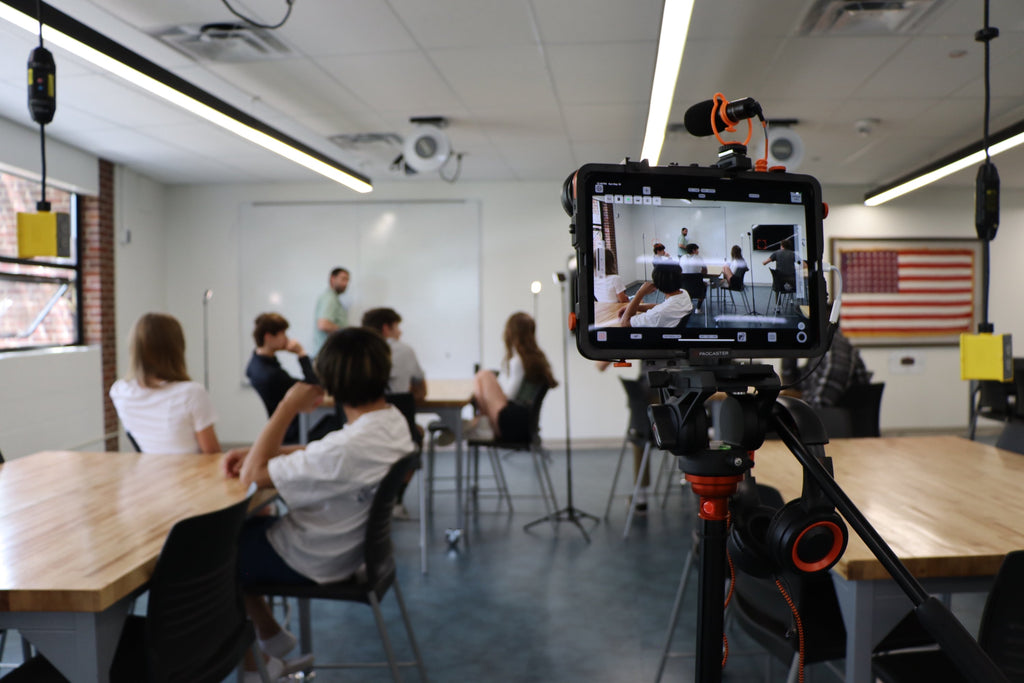
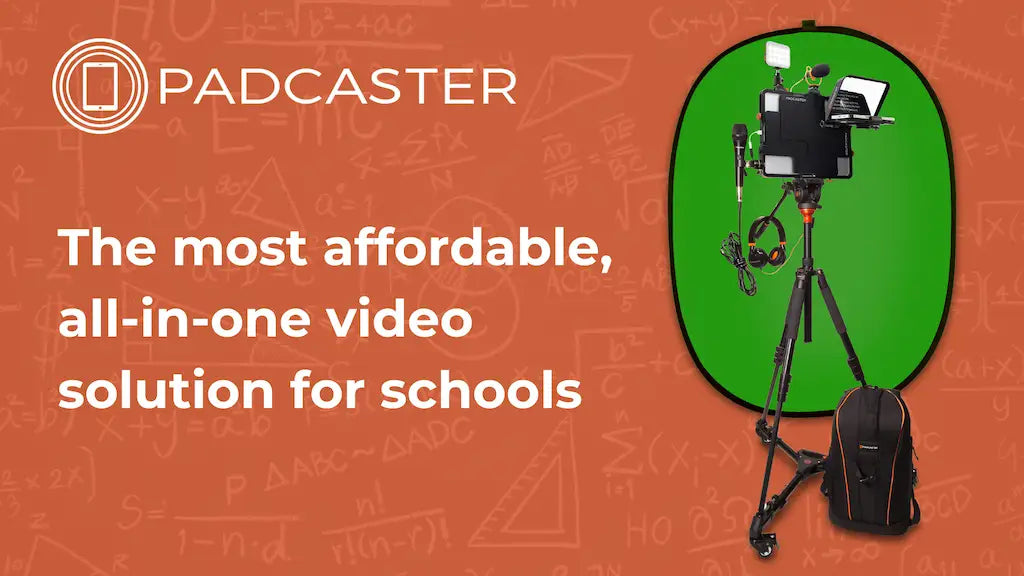
Padcaster transforms your iPad or smartphone into an all-in-one mobile production studio so you can create professional-quality videos from your home or anywhere else. Whether it’s for distance learning, telecommuting, remote broadcasting or livestreaming -- Padcaster will help you produce high-quality content wherever you are. If you’re considering having an event online such as a wedding, religious service, graduation, or ‘gathering’ of any kind, Padcaster wants to help you! Fill out the form below to get in touch with one of our sales consultants!Need More Information?
Fill out the form here to get in touch with a member of the Padcaster Team.